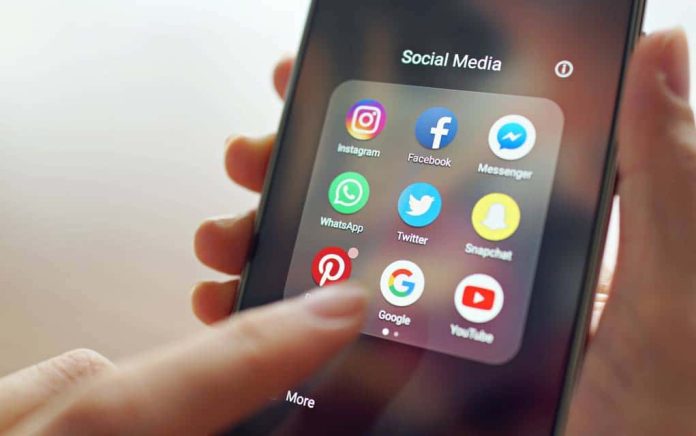
Social media is a fantastic way to stay in touch with friends and family, unfortunately, it can also be very risky to have your personal information online. Here’s how to be diligent and protect your privacy on Facebook, Twitter and Instagram.
When you signed up for Facebook, they requested that you fill out all sorts of information about yourself; places you’ve lived, work and education, contact info and more. There’s no reason that you need to have this information on Facebook. After all, unless you’re friending strangers, the people you chat with probably already know this info.
To delete or edit any of those categories, you’ll want to click on your profile picture when you log in to Facebook. On the left-hand side of the page click edit details. You will then see all the categories pop up with a little blue pencil icon next to them. Click that icon to edit the information in each category. Remember, the less info you give out online the better!
Another great way to ensure your privacy on Facebook is to limit who can see your posts and search for you. To find these settings, click on the arrow on the top right-hand corner of the page where you logged in, and select settings. You will find 20 different categories on the left-hand side of your screen; select privacy.
For the question, “Who can see your future posts?” select edit and change it to friends only. For the next question, “Do you want search engines outside of Facebook to link to your profile?” select no. For the most secure profile, you should really edit each category so that only your friends can see your information, but those two questions are the most important to change.
When you sign up for Twitter, they automatically make all of your tweets public, which means anyone can see and respond to them. This is a great way for scammers to find victims. To make your tweets private, go to your privacy and safety settings and select the box that says “protect your tweets.”
Another feature you might want to turn off is the ability for people to find your Twitter profile using your email address or phone number. To turn off that option, go to the same page as above and click on the section that says discoverability and contacts. By default, both the email and phone number boxes will have a blue checkmark. Click on each one to take the permission away.
Instagram is a fantastic way to keep up with your family through photos, but you want to make sure that not every Tom, Dick and Harry can see your family vacations and birthday celebrations. The best way to do this is by making your account private.
To make your account private, click the person icon on the lower-right corner of your screen (assuming you’re using a cellphone or tablet, which is the most common way to use Instagram). Swipe to the left once and then tap the gear icon. Select the privacy and security category and then account privacy. Click the blue button next to private account, which will then turn that option on. From now on, the only people who can view your photos are people you’re friends with.
Copyright 2023, UnitedVoice.com


